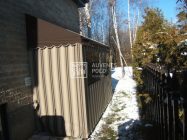
With winter coming fast, it’s essential to learn how to install a car shelter. Quebec’s winters can have pretty rough weather such as snow, icy rain, strong winds, and hail. Shoveling becomes your number one winter sport if you aren’t equipped with the right protection.
Fortunately, there are a lot of options when it comes to winter shelters. Whether you need a tempo style shelter to prevent early morning snow clearing, or protection to go from your house to your car, there’s a winter shelter designed just for that. Auvents Polo can even provide custom-made hybrid shelters. There’s no denying the efficiency and usefulness of a good car shelter. What about building it right, though?
Setting up a shelter can be a frustrating and tedious task. There’s a lot of preparation that needs to be made to ensure that the shelter is assembled safely. Our awning and car shelter expert team is happy to provide you with a step-by-step guide to help you learn how to install a car shelter.
Discover our guide below, but if you need more help for your car shelter installation, do not hesitate to contact us!
Preparation
Before even thinking about starting your installation project, you have to be prepared. This step is crucial because it will decrease the risk of wasted time. Assuming you’ve already measured your space correctly and chosen your shelter per those dimensions, here is what you’ll need to install a car shelter safely:
- Your car shelter;
- A ratchet;
- Elastic ball straps;
- Measuring tape;
- Friends, at least 2;
We strongly advise you to have at least two people to help you install your car shelter. Not only will it help you save time, but it will ensure your safety as well. Once you have everything you need, you are ready to start installing your car shelter. Follow our step-by-step guide to learn how to install a car shelter safely.
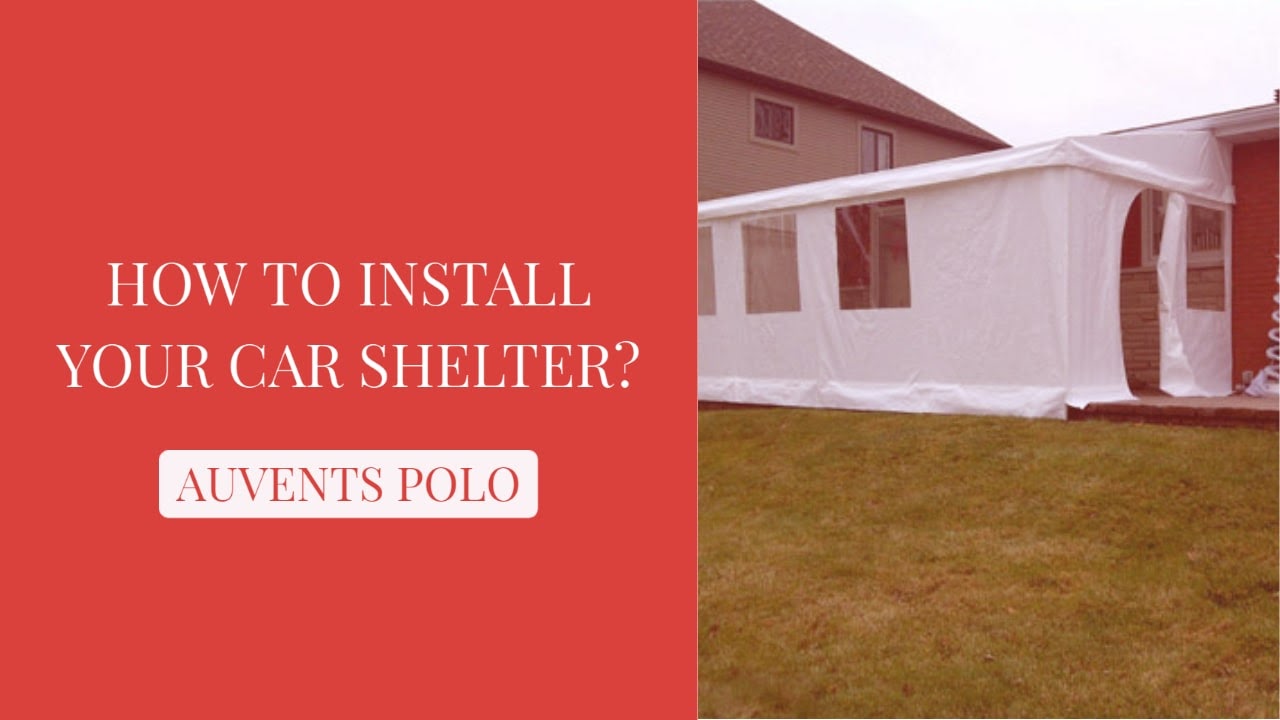
How to Install a Car Shelter: Step-by-Step
The first thing you want to do is to check the content of your shelter. Begin by displaying all the pieces on a flat surface to make sure you’ve got all the pieces. Then, take the time to read the installation manual with your helpers. Once you’ve all read the manual, it is time to start the installation.
- Always start by the roof structure. Assemble it on a flat surface and leave it for later.
- Once you are done with the roof, assemble the first end plug, then the intermediate end plug.
- Fix the intermediate edge to the end edge.
- With your hands, tighten the bindings of your car shelter and fix the edges.
- Assemble the last end edge.
- Use your measuring tape to create a straight line and level the frame.
- Bury your shelter’s anchors into the ground until the eyelet is about 1–2 inches from the ground.
- Use the ratchet to tighten all the bindings.
- If your shelter has a door, it’s time to roll it up and tie it with your elastic ball straps.
- Make sure your shelter’s cover is centered and that it protrudes equally at all four corners.
- Bring the counterweights to the bottom of the cover and secure them together.
- Tighten each corner until you can’t even put a finger between the cover and the cross members.
Once your shelter is built, the fabric should look smooth and uniform.
If you have any questions or need more help to learn how to install a car shelter, contact us. Our expert team will happily assist you and answer all of your questions. We also offer our installation service. Contact us today to learn more about our services.